In this tutorial, you will learn how to remove the DEBUG banner in the Flutter app.
Removing the DEBUG banner is crucial for ensuring that your Flutter mobile application looks polished and production-ready. It’s also important to note that this label can be misleading to users who may mistake it for an error or bug in the application. By following the steps outlined in this tutorial, you’ll be able to remove the DEBUG label in both debug and release modes, allowing you to create a seamless and professional user experience for your application users.
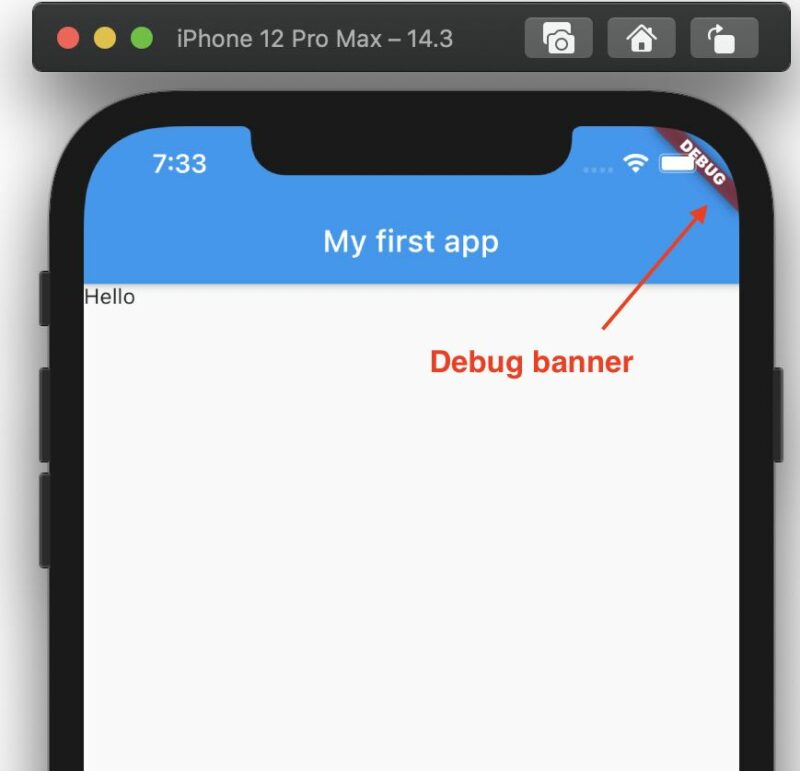
Removing the DEBUG Banner
Additionally, if you want to remove the banner only in certain parts of your application, you can use the Builder widget to wrap those parts and set the debugShowCheckedModeBanner property to false within the builder. This allows you to selectively hide the banner while developing certain parts of your application without affecting the rest of the app. It’s important to keep in mind that even though the DEBUG label is removed, the debug mode is still active and you will still have access to all the features and tools provided by Flutter for debugging purposes.
runApp(
    MaterialApp(
      debugShowCheckedModeBanner: false
...
In addition to setting the debugShowCheckedModeBanner property to false, you can also set it to true in release mode if you need to enable the banner for some reason. It’s important to remember to always hide the banner in release mode as it can be unprofessional and distract from the user experience. With this code example, you should now be able to easily remove the DEBUG label from your Flutter application while still having access to all the necessary debugging tools.
import 'package:flutter/material.dart';

void main() {
  runApp(
    MaterialApp(
      debugShowCheckedModeBanner: false,
        home: Scaffold(
          appBar: AppBar(
            backgroundColor: Colors.blue,
            title: Center(child: Text('My first app')),
      ),
          body: Text('Hello'),
    )),
  );
}
Video Tutorial
I hope this very short Flutter tutorial was helpful to you. If you are interested to learn Flutter, there are many more tutorials in the Flutter category on this site. Have a look at it. You might find more tutorials that you will like.
Happy learning!